Matching vendor item codes to your own inventory is an annoying (but necessary) task that often comes up in NetSuite – especially when you’re working with standardized inventory that’s available with multiple suppliers, or when your purchasing department is sourcing from multiple locations.
When processing such vendor bills, the invoice coding stage becomes very manual and time-consuming; AP teams often end up having to call the vendor/check with purchasing, or make some assumptions that affect the data in NetSuite later.
Thankfully, there is more than one way out.
In this guide, we’ll walk through different ways you can map vendor-specific item codes to your NetSuite items:
- Mapping Multiple Vendors to One Item
- Mapping One Vendor to One Item
- Using CSV Imports for Bulk Mapping
- Storing SKU Mappings Outside NetSuite (for eg. when you’re using OCR)
- Using Workflow Automation to combine the best parts of solutions 1 – 4
These solutions will differ a bit (some are more manual while some solutions are highly automated and good for scale) – you can pick what’s best for your business depending on your scale of operations.
Mapping Multiple Vendors to One Item
If you work with multiple vendors for the same item, the best way to store vendor SKU codes is in the ItemVendor Table. This allows you to link each item to multiple vendors along with their specific item codes.
💡
This is the most common scenario – many common inventory items will fall into this category. For instance, if you’re purchasing standardized tools/parts/accessories as part of a small manufacturing setup, you’ll probably have to source from multiple vendors to get the best price.
Here’s how you can set this up and fetch the data through a Saved Search or SuiteQL query.
Steps:
- Enable Multiple Vendors for an Item:
- Go to
Setup > Company > Enable Features. - Under the “Items & Inventory” tab, enable Multiple Vendors for items.
- Go to
- Enter Vendor Codes:
- Open the item record and navigate to the Purchasing/Inventory tab.
- In the Vendors subtab, you’ll find a field to add vendor-specific item codes. Enter the vendor SKU code for each vendor supplying the item.
- Create a Saved Search to Display Vendor Codes:
- Go to
Reports > Saved Searches > New. - Select Item as the type.
- In the Results tab, select the following fields:
Item > NameVendor > NameVendor > Vendor Code
- Run the search to get a list of items and their vendor-specific codes.
- Go to
- Using SuiteQL to Fetch Vendor SKU Codes: SuiteQL is a powerful query language that allows more advanced retrieval of data. You can use SuiteQL to extract vendor SKUs for items directly. This method can be used if you’re using the NetSuite API.
SELECT
   Vendor.CompanyName,
   ItemVendor.vendorCode,
   ItemVendor.purchasePrice
FROM
   ItemVendor
INNER JOIN
   Vendor ON ItemVendor.vendor = Vendor.Id
WHERE
   ItemVendor.Item = 'YOUR_ITEM_NUMBER';
In this query, we are using the itemVendor table to get the list of all vendors that have that item listed, and their respective codes for that specific item.
Mapping One Vendor to One Item
If you only work with one vendor per item, using a custom field or an Item Alias is a simpler method. This allows you to store the vendor’s SKU code directly in the item record.
💡
This is more useful in scenarios when the item can only be sourced from one particular vendor – an example is something like automotive parts or electronic chips that will usually be purchased directly from OEMs (Original Equipment Manufacturers) like Apple or Tesla.
Here’s how to implement this mapping:
Steps:
- Create a Custom Field:
- Navigate to
Customization > Lists, Records, & Fields > Item Fields > New. - Create a custom field called Vendor SKU Code (Text field type).
- Add this field to your item records.
- Navigate to
- Enter Vendor SKU Code:
- Go to each item record and populate the Vendor SKU Code field with the respective vendor’s SKU.
- Use the Vendor SKU in Transactions:
- Once added, this custom field can be used in transactions like purchase orders and bills to show the vendor SKU next to your internal item code.
- Display the Vendor SKU on Forms:
- If you want the vendor SKU to show up on printed purchase orders or vendor bills, you can customize the transaction forms to include this custom field.
Using CSV Imports for Bulk Mapping
💡
This is more of a one-time quick-fix if you don’t have a very complex inventory setup on NetSuite – you may not need to do this exercise very often.
If you have a large number of items and vendors, manually entering each SKU code could be time-consuming. In this case, you can use NetSuite’s CSV Import feature to bulk update vendor SKU codes for your items.
Steps:
- Prepare the CSV File:
- Create a CSV file with columns for
Item Name/ID,Vendor Name, andVendor SKU Code.
- Create a CSV file with columns for
- Go to CSV Import Tool:
- Navigate to
Setup > Import/Export > Import CSV Records. - Choose Item as the record type and follow the prompts to upload your CSV file.
- Navigate to
- Map the Fields:
- During the import process, ensure that the CSV columns are correctly mapped to the appropriate fields in NetSuite (Item, Vendor, and Vendor SKU Code).
- Run the Import:
- After mapping, run the import to update all your item records with the vendor SKU codes in one go.
Storing SKU Mappings Externally
If you’re using an external tool to process invoices — such as OCR (Optical Character Recognition) or AP Automation software — you might prefer to store the SKU mappings in an external system or CSV file rather than in NetSuite.
This method is useful when you use an OCR/AP solution and want to map vendor codes to your internal item codes at the time of coding an invoice, BEFORE it is imported into NetSuite.
❗
Bear in mind that many OCR/AP solutions will NOT handle inventory items by default. You will need to store the mapping of vendor codes to internal item codes in a separate location (like a Google Sheet or CSV) and write a custom integration to lookup from that database.
How to Implement:
- Store Mappings in an External CSV or Database:
- Maintain a CSV or database with the following columns:
Vendor SKU,Internal SKU,Vendor Name. - This can be stored on your local system or in a cloud-based storage like Google Sheets.
- Maintain a CSV or database with the following columns:
- OCR/AP Integration:
- When an invoice comes in, use your OCR tool to extract the vendor’s SKU from the invoice.
- Write a script or use an integration tool (most OCR or AP tools allow custom integrations with Python) to look up the vendor SKU in your external file and retrieve the corresponding internal SKU.
- When uploading the data into NetSuite to create the Vendor Bill, use the internal SKU code that you just fetched from the lookup in step #2.
Here’s a simple Python script to match the vendor SKU from a CSV:
import csv

def get_internal_sku(vendor_sku, csv_file):
    with open(csv_file, mode="r") as file:
        reader = csv.DictReader(file)
        for row in reader:
            if row['Vendor SKU'] == vendor_sku:
                return row['Internal SKU']
    return None

# Example Usage
vendor_sku = 'ABC123'
internal_sku = get_internal_sku(vendor_sku, 'vendor_mapping.csv')
print(f'Internal SKU: {internal_sku}')
When processing vendor bills in NetSuite, you can now use the internal SKU returned by your script or integration to ensure the correct item is used.
- Bear in mind that you’ll probably still have to do data validation when entering the vendor bills into NetSuite (unless your OCR/AP tool already does this). Not doing this can mean broken data going into NetSuite.
Using AI-Based Workflow Automation
There’s another way to do this that is both quicker + more scaleable.
It involves using an AI workflow builder like Nanonets, which allows you to customise the actions you want to do on an invoice before syncing it with NetSuite.
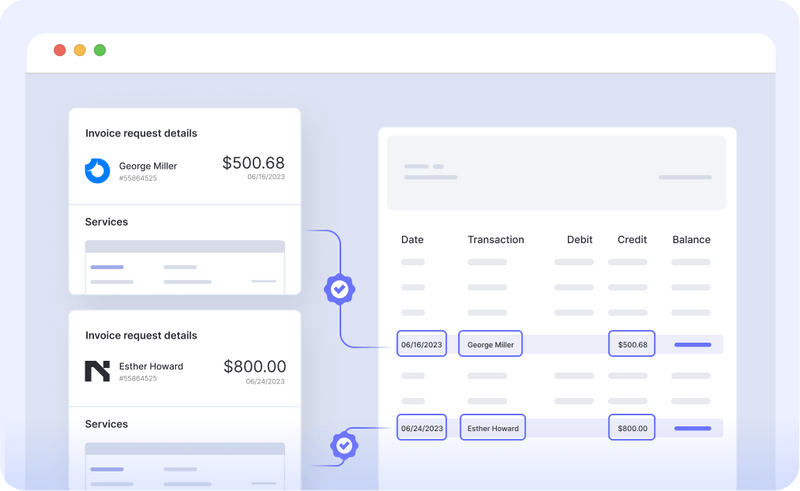
This is what a typical workflow will look like:
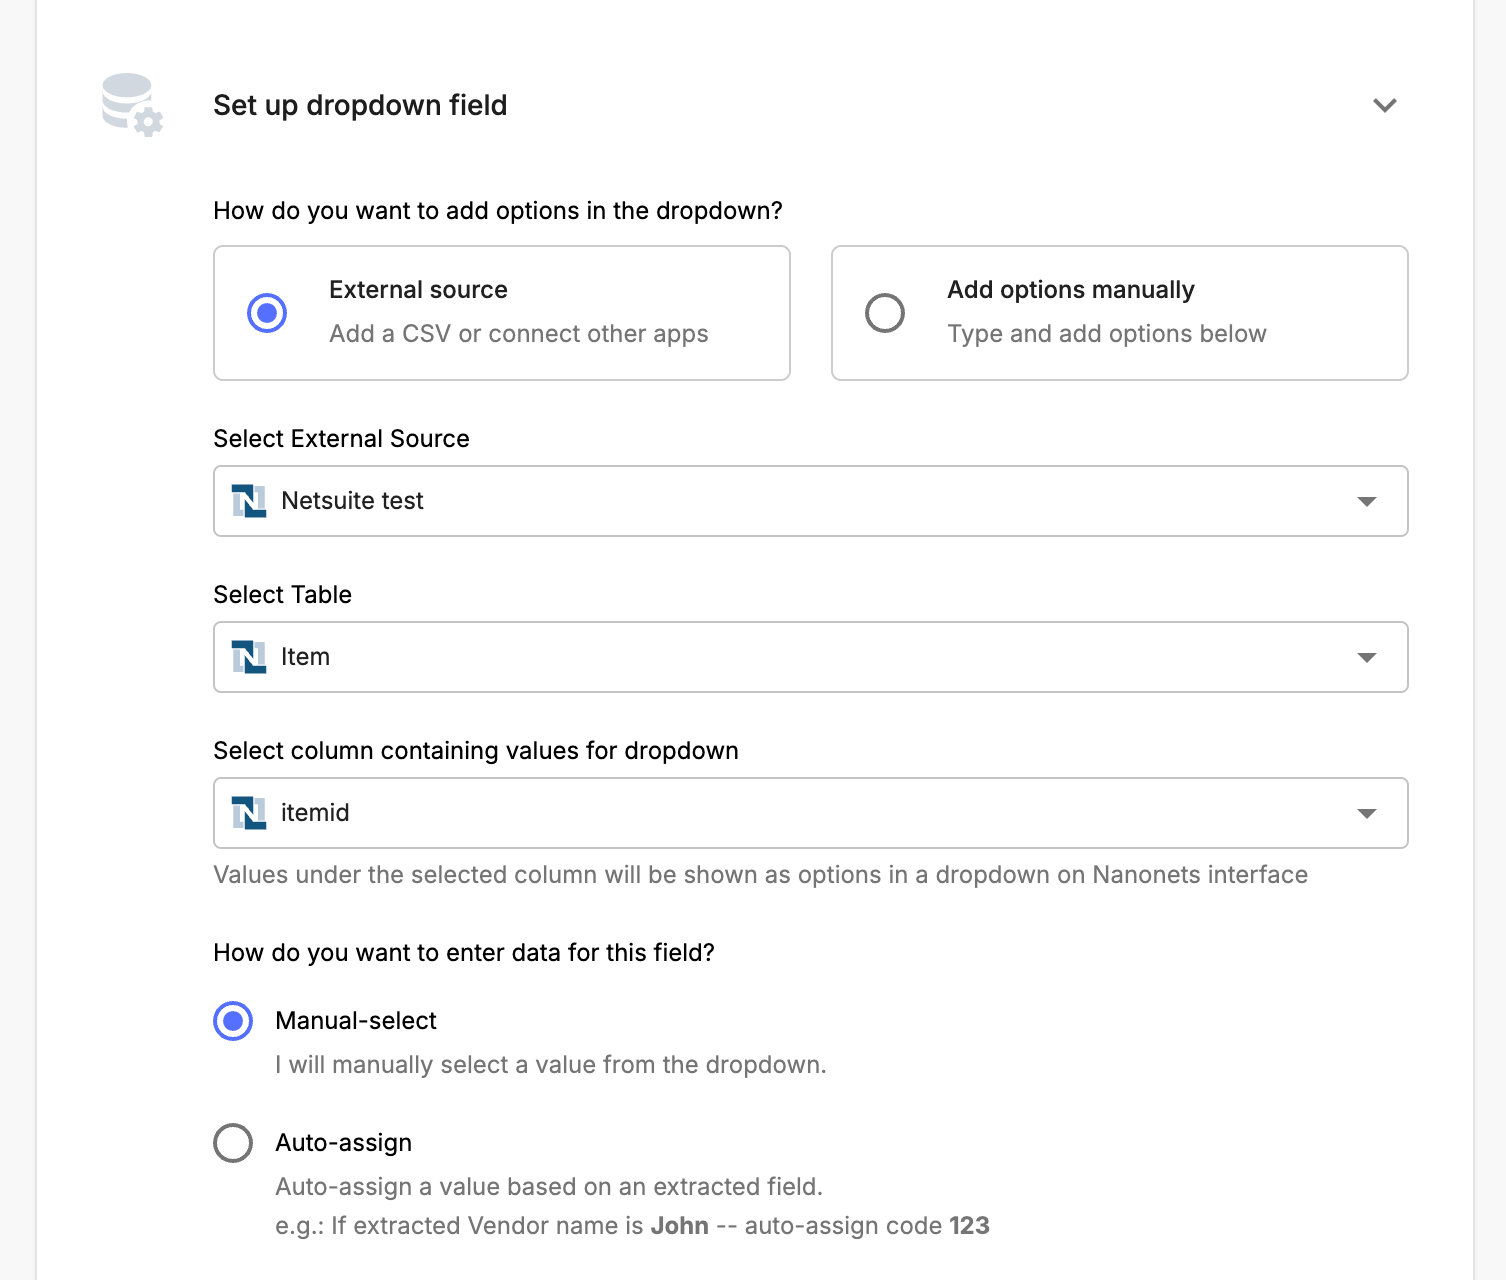
- We use a Nanonets AI model to extract data from invoices and bills – this model will extract vendor item codes from each vendor bill
- We set up a NetSuite integration on this model and create lookups to get the internal item codes
- Nanonets then does the below for every vendor bill that you process:
- Read the vendor item code on the bill
- Try to find a match using a mix of SuiteQL + natural language understanding to get the exact internal item code from NetSuite
- If no match is found, then the model will refer to its own learning (i.e., it’ll try to remember which internal item code you picked for this vendor item code for a previous invoice)
- If there’s still no match – you will need to manually select your item code
✅
Over time, this process trains the AI model to remember 80-85% of all vendor item codes. There will always be exceptions – however your AP team still ends up saving a big chunk of time.
Using something like Nanonets has significant advantages:
- You’ll end up saving more than 80% of the time it takes to look up vendor codes.
- Nanonets has in-built data validation – for every invoice that you export into NetSuite, each and every field is validated and formatted to ensure consistency with NetSuite.
- You get the advantage of the NetSuite API and SuiteQL in the backend, while also getting high-accuracy OCR and AI capabilities that learn from your choices.
A short 15-minute call with an automation expert is usually enough to get this process started.
Conclusion
Mapping vendor SKU codes to your internal item codes in NetSuite can be handled in several ways, depending on your business setup. You can go for something that is more manual and gives you more control, or you can fully automate it using the API (with significantly higher effort and some coding involved).
By combining the best of both worlds using a no-code solution like Nanonets, you can confidently manage vendor item codes, streamline data entry, and reduce manual errors, saving valuable time for your procurement and finance teams.
API/SuiteQL References: